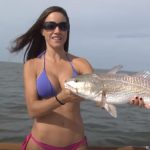
Slip bobbers are a versatile and effective tool for targeting various fish species at different depths. Whether you’re fishing in freshwater or saltwater, learning how to rig slip bobbers correctly can significantly improve your catch rate. Here’s a step-by-step guide to rigging slip bobbers for your next fishing adventure.
What is a Slip Bobber?
A slip bobber is a type of fishing float that slides freely up and down the fishing line. Unlike fixed bobbers, which are attached at a specific point on the line, slip bobbers can be adjusted to fish at different depths, making them ideal for targeting fish in various water conditions.
Why Use a Slip Bobber?
Slip bobbers offer several advantages:
- Versatility: Slip bobbers can be adjusted to any depth, allowing you to fish shallow or deep waters with ease.
- Castability: Because the bobber slides down to the hook when casting, it’s easier to cast long distances without the line tangling.
- Sensitivity: Slip bobbers are highly sensitive to bites, making it easier to detect when a fish is nibbling at your bait.
How to Rig a Slip Bobber
Rigging a slip bobber is straightforward, but it requires the right components and technique.
Materials Needed:
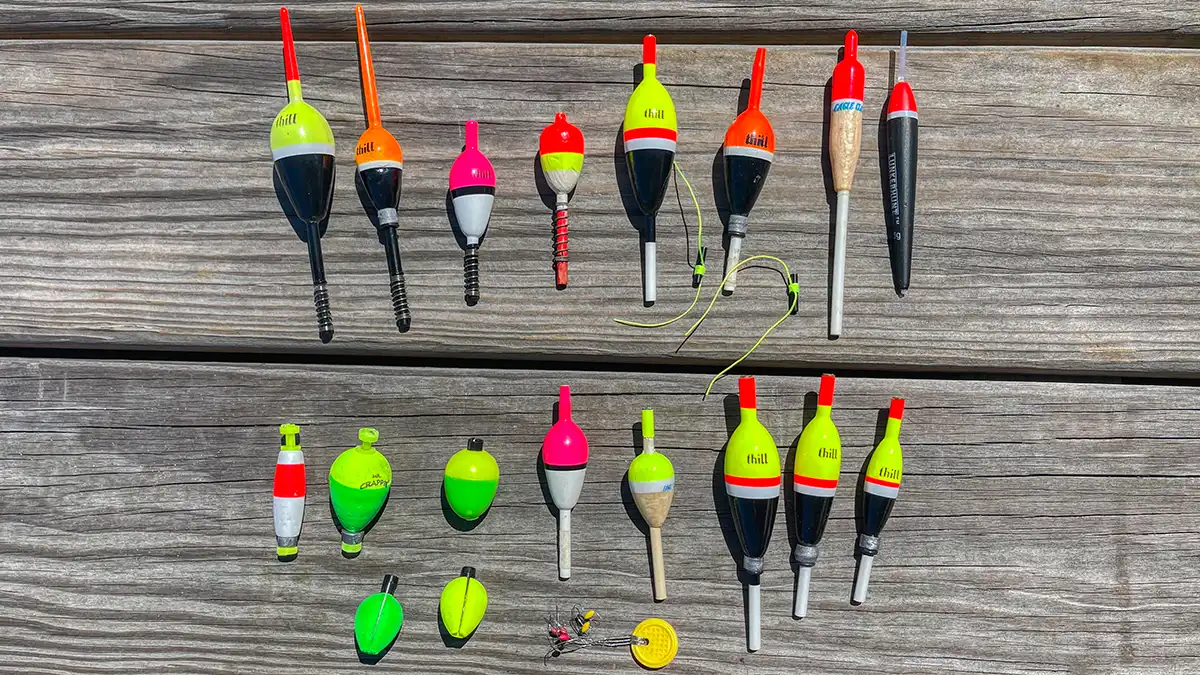
- Slip bobber
- Bobber stop and bead
- Fishing line
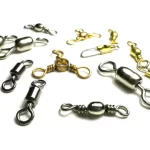
- Hook
- Split shot or sinker
- Bait (live or artificial)
Step-by-Step Guide:
- Attach the Bobber Stop: The first step is to attach a bobber stop to your fishing line. Bobber stops are small knots or rubber stoppers that you slide onto your line. This stop determines the depth at which your bait will sit. Slide the stop onto the line and secure it by tightening the knot or sliding the rubber stop into place.
- Add the Bead: Next, thread a small bead onto your line. The bead acts as a buffer between the bobber stop and the slip bobber, preventing the stop from getting stuck inside the bobber.
- Thread the Slip Bobber: Slide the slip bobber onto your line. The bobber should slide freely up and down the line, allowing you to adjust the depth easily.
- Attach the Hook: Tie your hook to the end of the line using a secure knot, such as the improved clinch knot. Make sure the hook is sharp and appropriate for the type of fish you’re targeting.
- Add Weight: Depending on the buoyancy of your bobber and the weight of your bait, you may need to add split shot or a sinker to your line. Place the weight a few inches above the hook to help your bait sink to the desired depth.
- Set the Depth: Slide the bobber stop up or down the line to adjust the depth at which your bait will sit. This flexibility allows you to target fish at different depths without re-rigging your setup.
- Bait the Hook: Finally, bait your hook with your choice of live bait or artificial lure. Make sure the bait is securely attached to the hook.
Tips for Using Slip Bobbers
- Experiment with Depths: Fish can be at different depths depending on the time of day, weather, and water conditions. Adjust the bobber stop to find the depth where fish are biting.
- Use the Right Bobber: Choose a bobber size that matches the weight of your bait and sinker. A bobber that’s too small will sink, while one that’s too large will be less sensitive to bites.
- Watch the Bobber: Pay close attention to the bobber’s movement. Any sudden dips, sideways movements, or changes in position can indicate a bite.
- Retrieve Slowly: If you don’t get bites immediately, try slowly retrieving the line to give your bait some movement, which can attract fish.
Slip bobbers are an excellent tool for anglers who want to fish at varying depths with precision and ease. By following this guide, you’ll be able to rig and use slip bobbers effectively, increasing your chances of a successful fishing trip.
Image: Wired2Fish