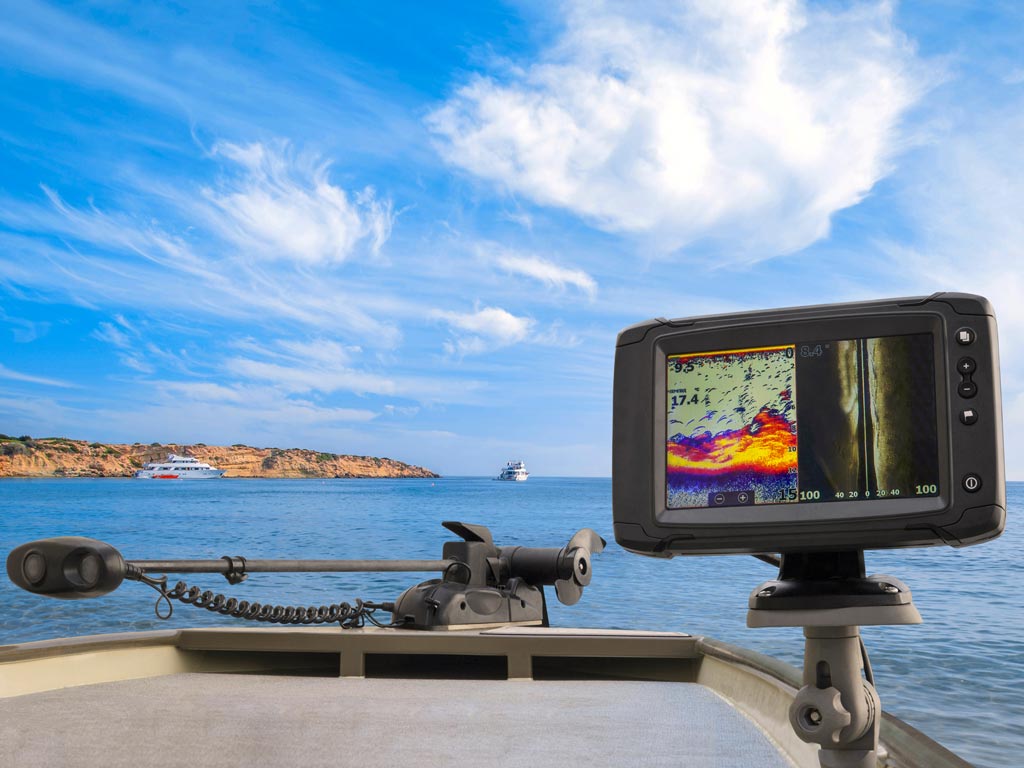
A fish finder is akin to having an extra crew member on board – it’s like a fishing companion that can see beneath your boat and notify you of any potential catches. It’s an invaluable tool for many types of fishing. But how do you ensure you pick the right fish finder? Stay with us to find out!
Key Considerations When Buying a Fishfinder
Usage Environment One of the first things to consider is where you’ll be using your fishfinder. Coastal and inland lake anglers need less power and fewer features compared to those venturing offshore. Different frequencies are also used depending on water depth. Here’s a closer look at the key factors to consider:
Power The power of a fishfinder, measured in wattage, determines the strength of the sound waves it emits. Fishfinder wattages can range from 100 watts for small devices to over 1000 watts for deep-sea systems. This affects both the depth the waves can reach and the detail of the returned images.
- Shallow Waters/Inland Lakes: 200-300 watts are sufficient.
- Nearshore Fishing: 600 watts are usually adequate.
- Offshore Fishing: Aim for 1000 watts or more for the best results.
Frequency and Transducer The frequency you set affects both depth and image detail. The transducer is the part of the fishfinder that sends and receives sound waves. Choose between single, dual, or multiple frequency transducers based on your needs.
- Low Frequencies (50 Hz): Best for deep seas and detecting larger fish.
- High Frequencies (200 Hz and above): Used for shallow waters and detailed scanning.
Many modern fishfinders include CHIRP technology, which sends sweeping waves of different frequencies, combining them into a single detailed image.
Screen Size and Resolution A larger, high-resolution screen enhances visibility and usability. Fishfinder screens range from 3.5 inches for portable devices to 12 inches for more permanent installations. Consider screen size and resolution based on whether you need split-screen functionality and chartplotter features.
Side Imaging and Additional Features Fishfinders with side imaging allow you to see activity along the sides of your boat, which is useful in shallow waters. Chartplotters are also valuable for navigation and recording fishing spots. Additionally, consider whether the fishfinder has buttons or touchscreen capabilities – buttons can be easier to use in rough waters.

Mounting Your Fishfinder
How you mount your fishfinder’s transducer depends on your boat and fishing style:
- Transom Mount: Common for boats under 30 feet. Easy to install but may be affected by propeller bubbles.
- Thru-Hull Mount: Ideal for larger boats, offering the best performance. Requires drilling through the hull.
- In-Hull Mount: Suitable for boats with thin hulls. Requires a sensitive transducer.
- Trolling Motor: Some transducers can be mounted on the trolling motor, allowing directional control of the signal.
Using Your Fishfinder
Once installed, familiarize yourself with the basic functions of your fishfinder. Learn to adjust frequencies, sensitivity, and screen settings to get the best results. Experiment on the water to become adept at interpreting the information displayed.
Selecting the right fishfinder involves considering your fishing environment, required features, and budget. Brands like Humminbird, Lowrance, Garmin, Simrad, Furuno, and Raymarine offer reliable options. By assessing your specific needs, you can find a fishfinder that enhances your fishing experience.
Images/Source: FishingBooker