In the realm of fishing, a well-tied knot can be the difference between a triumphant catch and a missed opportunity. One such knot that has stood the test of time is the Rapala Loop Knot, celebrated for its ability to allow lures, flies, or hooks to move freely, enhancing their action in the water. In this guide, we delve into the steps of crafting this renowned knot, ensuring anglers can optimize their chances of success with every cast.
The Rapala Loop Knot begins with a foundational overhand knot, leaving a sufficient length on the tag end. This initial step sets the stage for the knot’s effectiveness. Subsequently, the tag end is threaded through the eye of the lure or hook, followed by a pass through the loop of the overhand knot from front to back.
The next crucial phase involves twisting the tag end around the main line, executing a minimum of three twists to secure the knot’s integrity. The tag end is then passed back through the overhand knot loop, completing a sequence that forms the characteristic Rapala Loop.
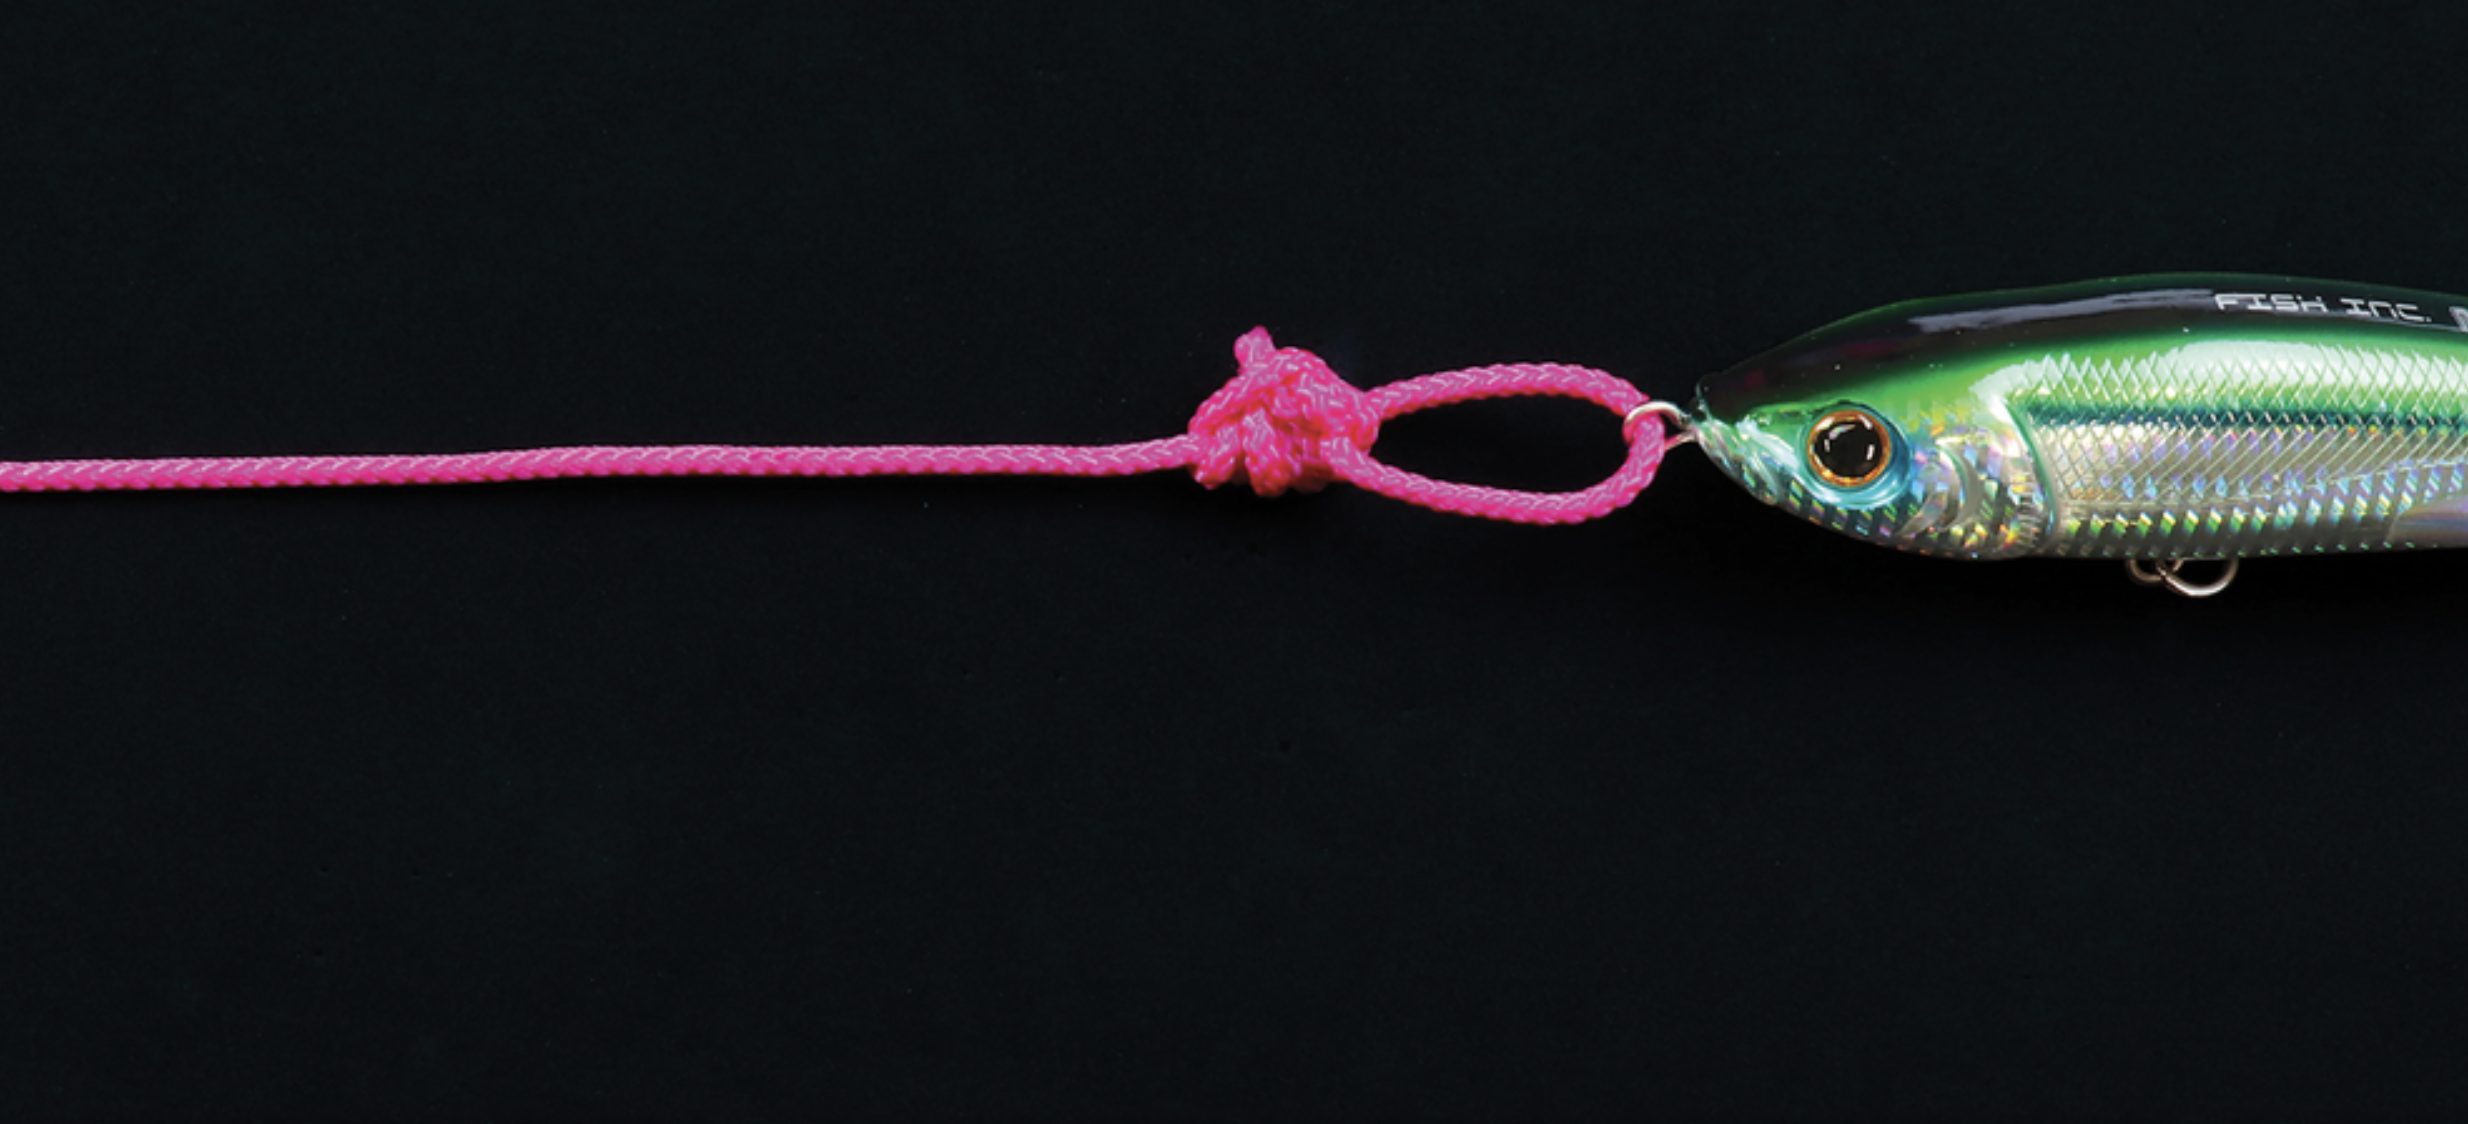
To ensure optimal performance, it is essential to moisten the knot before gradually tightening it down. This step aids in the even bedding down of twists and allows for the adjustment of the end loop to the desired size. Tensioning both the main line and the tag end completes the knot, and trimming the tag end neatly finalizes the creation of the Rapala Loop, ready to unleash its aquatic prowess.
Mastery of the Rapala Loop Knot opens a gateway to enhanced lure action, a fundamental aspect of successful fishing. As anglers hone their knot-tying skills, the Rapala Loop stands as a reliable ally, offering versatility and effectiveness in various fishing scenarios. With precision and practice, this knot becomes a valuable asset in the pursuit of a rewarding fishing experience.
Image/Source: TackleTactics