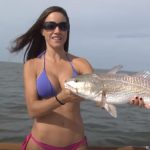
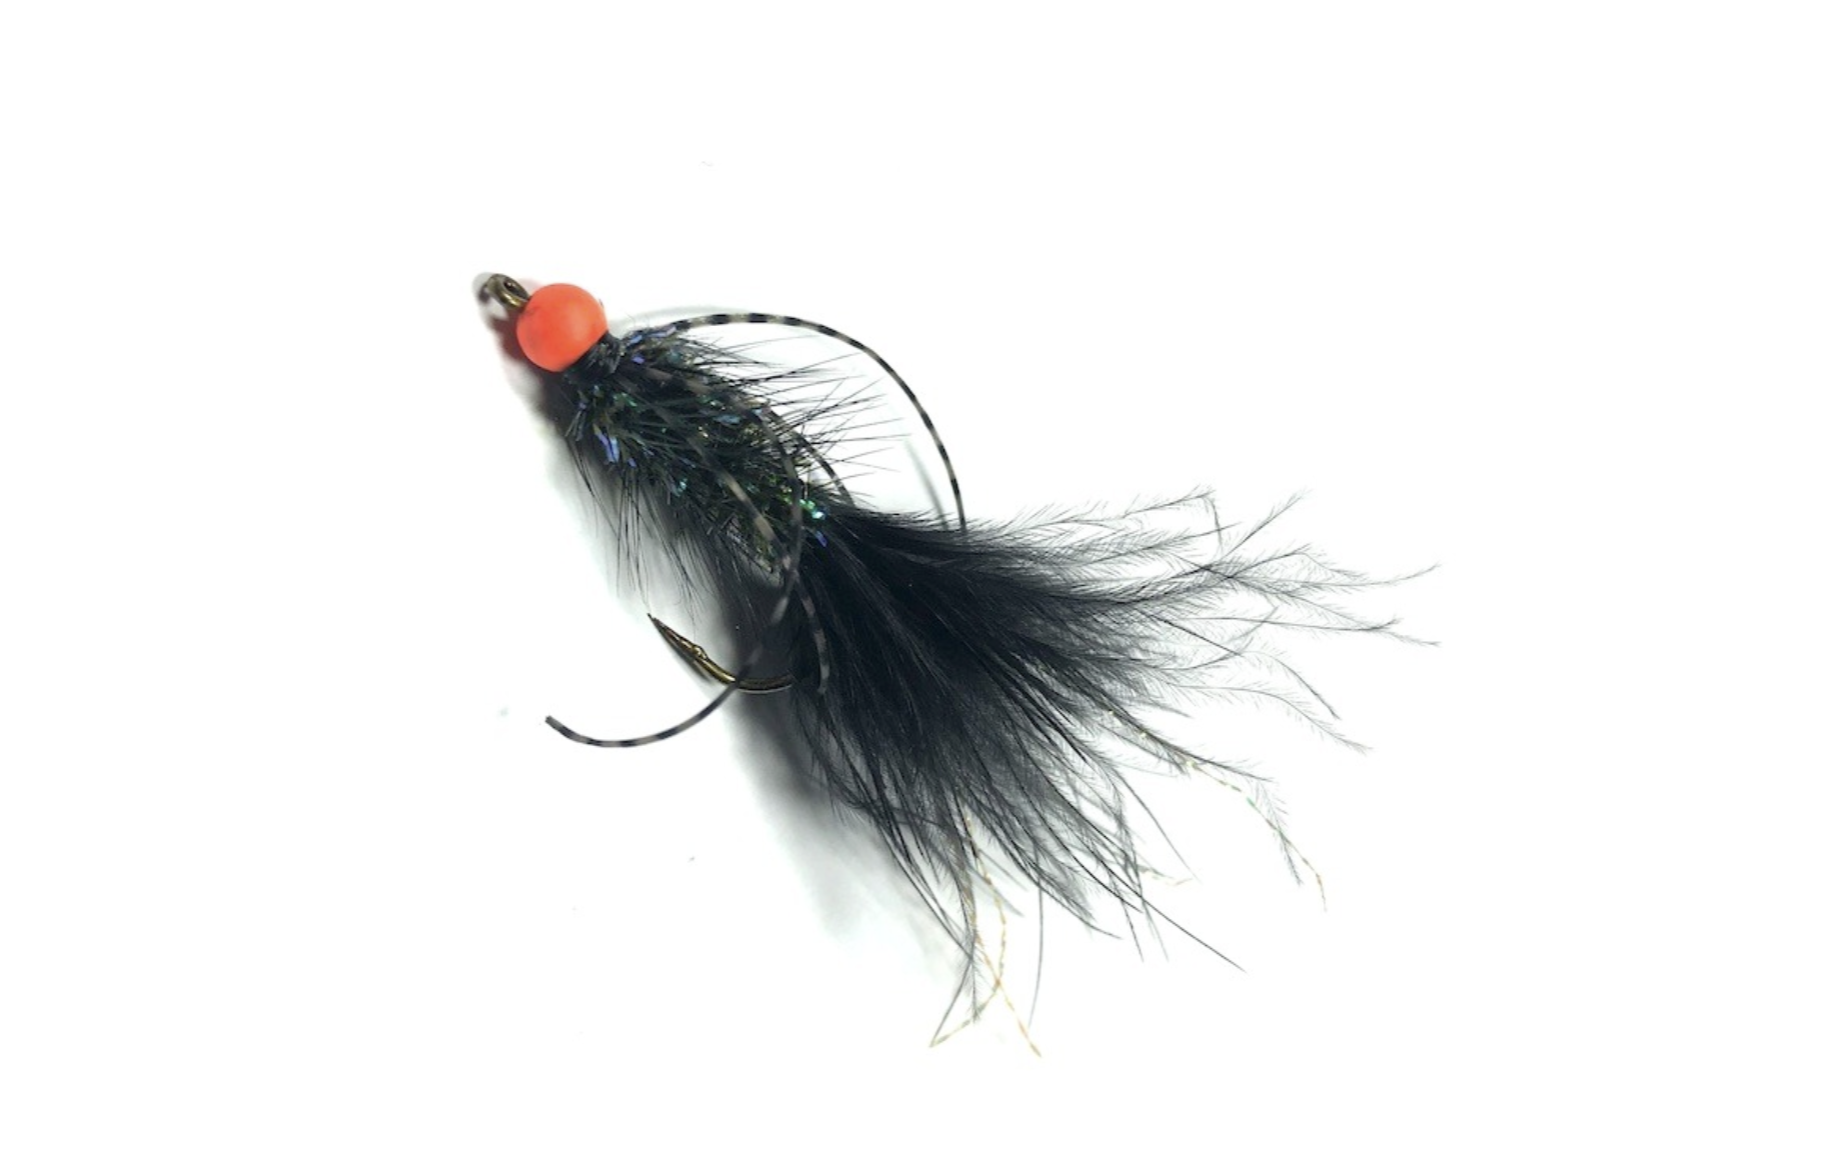
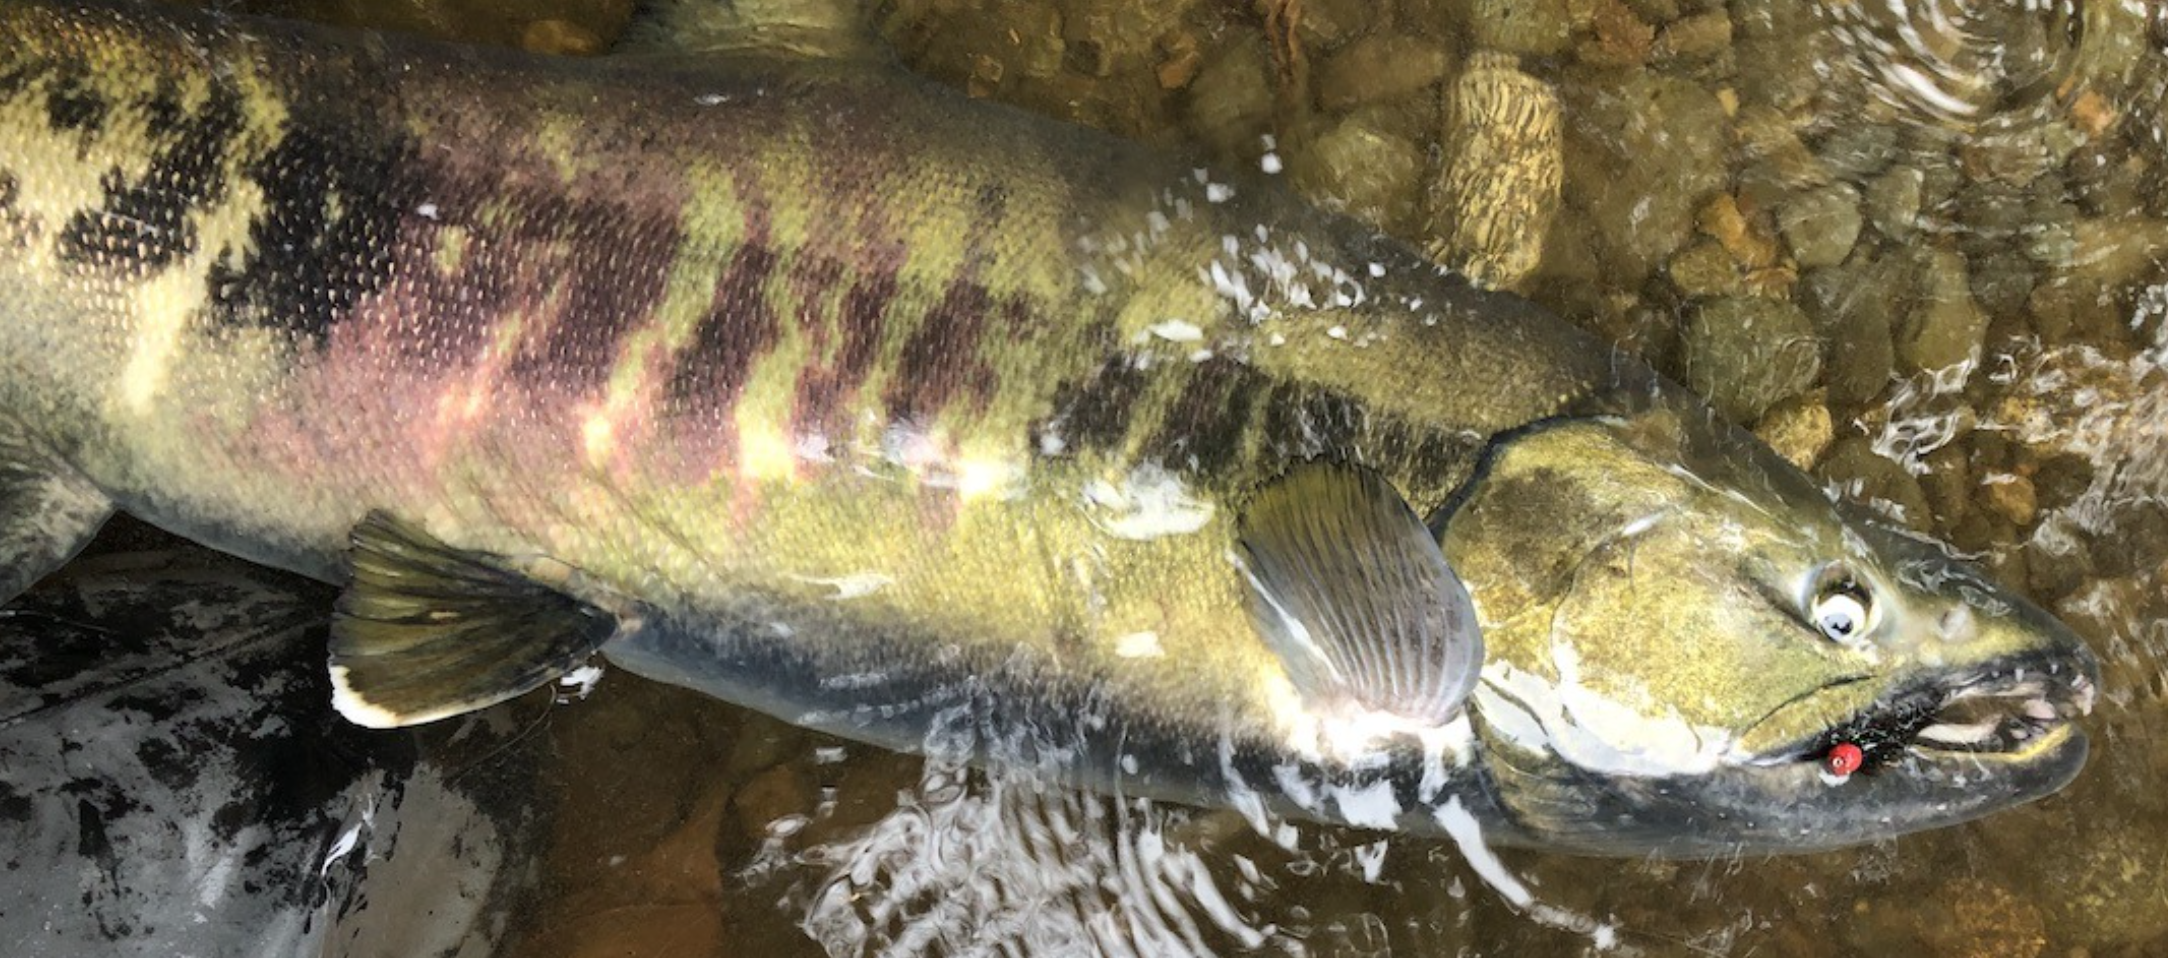
The Woolly Bugger is a classic fly pattern that consistently attracts fish in various conditions. Today, we’ll dive into tying a variation known as the Egg-Sucking Woolly Bugger. This pattern combines the effectiveness of the Woolly Bugger with an enticing egg imitation, making it irresistible to trout, bass, and other freshwater species.
Material List:
- Hook: Mustad 1x
- Thread: White 1/0 Veevus
- Weight: 4.5mm orange tungsten bead
- Tail: Black marabou
- Rib: Medium copper wire
- Body: Medium black chenille
- Hackle: Black rooster saddle
- Legs: Barred Sexi-Floss chartreuse small
- Flash: Green crystal flash
Step 1: Prepare the Hook Start by placing the hook securely in your vise. Then, attach the white thread to the hook shank near the eye and wrap it back towards the bend, stopping just above the barb.
Step 2: Add the Weight Slide the orange tungsten bead onto the hook and push it up against the thread wraps. This bead will help the fly sink quickly in the water, reaching the desired depth where fish are feeding.
Step 3: Create the Tail Select a clump of black marabou fibers and tie them in at the bend of the hook, extending slightly beyond the length of the hook shank. Trim any excess fibers to achieve the desired tail length.
Step 4: Add the Rib Take a piece of medium copper wire and secure one end to the hook shank with several tight wraps of thread. Leave the other end hanging loose for now; we’ll use it later to rib the body of the fly.
Step 5: Build the Body Next, take your medium black chenille and tie it in just behind the bead. Use smooth, overlapping wraps of thread to create a tapered body, stopping about halfway down the hook shank.
Step 6: Hackle Time Now it’s time to add some movement and lifelike action to our fly. Select a black rooster saddle hackle and tie it in by the tip just behind the bead. Make sure the shiny side of the feather is facing outward.
Step 7: Flashy Additions Grab a few strands of green crystal flash and tie them in on each side of the fly, just behind the bead. This flash will attract fish with its subtle shimmer and mimic the appearance of baitfish or insects.
Step 8: Finish with Legs Finally, take your barred Sexi-Floss chartreuse small and tie it in on each side of the fly, near the tail. These legs add extra movement and realism to the pattern, enticing even the most wary fish.
Step 9: Rib the Body Wrap the loose end of the copper wire forward in tight spirals, counter-ribbing the chenille body as you go. This ribbing not only adds durability to the fly but also creates a segmented appearance that fish find irresistible.
Step 10: Secure and Trim Once you reach the bead, secure the wire with several tight wraps of thread and trim off any excess. Finish the fly with a few additional wraps of thread to create a neat head, then whip finish and trim the thread.
And there you have it – your very own Egg-Sucking Woolly Bugger ready to tempt fish on your next angling adventure! Experiment with different colors and variations to match the hatch and target the specific species you’re after. Happy tying and tight lines!
Images/Source: IslandFisherman