Indicators play a crucial role in nymph fishing, offering undeniable effectiveness whether you’re a fan or not. From the perspective of a well-rounded angler, incorporating indicator techniques into your repertoire is essential.
Exploring this fishing style often sparks the question of which indicator type reigns supreme. Through my extensive testing in the Rocky Mountain West and the Midwest US, I’ve arrived at some valuable insights. Let’s delve into the options.
Types of Strike Indicators:
- Bobbers/Bubbles/Disco Balls:
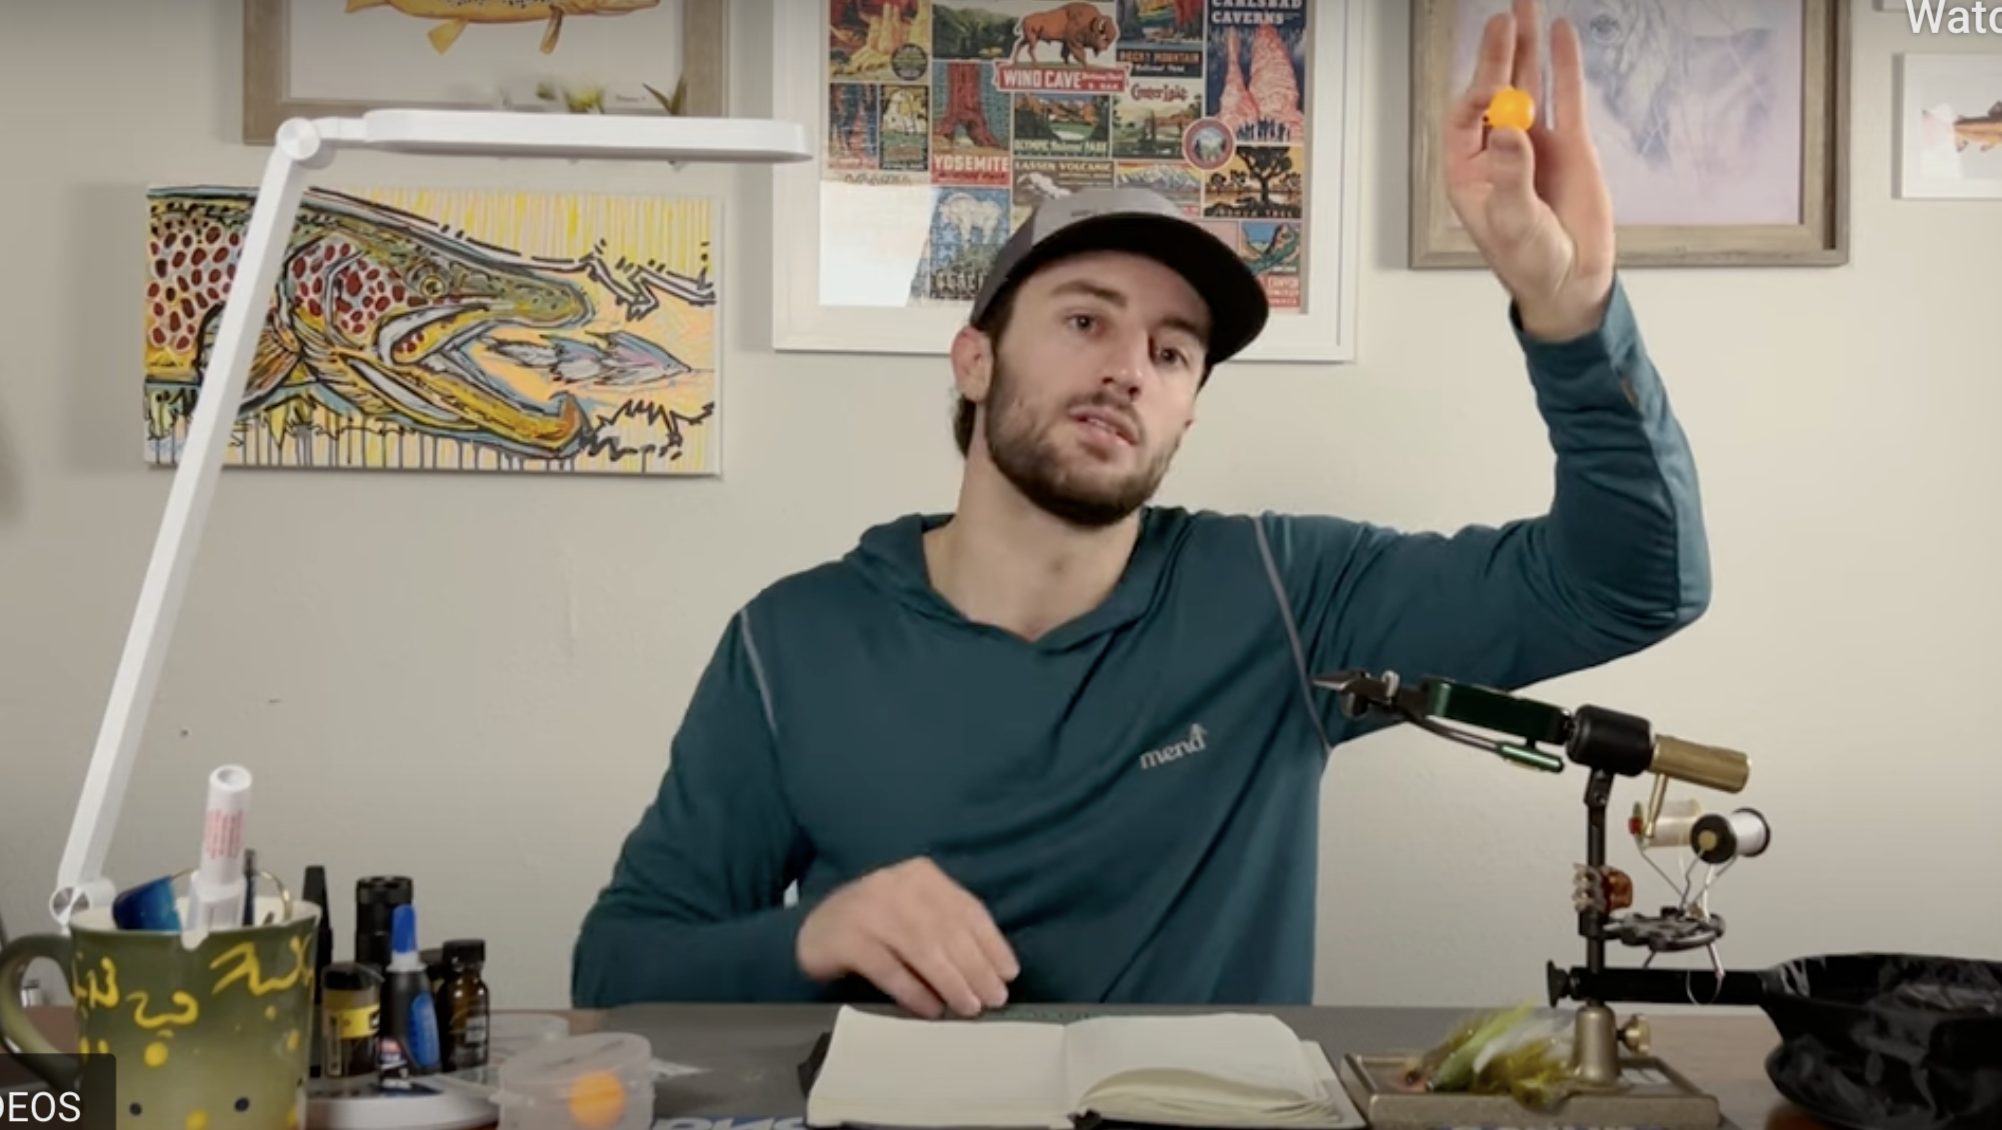
- Airlock indicators stand out as a preferred choice due to their eco-friendly material and stealthy presentation.
- Glow-in-the-dark thingamabobbers contribute to a subtle, natural appearance, especially in clear waters.
When to Use:
- Ideal for big water situations, distant suspension needs, or windy conditions.
- Suitable for deep fishing with substantial split shot requirements.
When Not to Use:
- Avoid in low-clear water or when fishing picky tailwater trout due to their intrusive nature.
- Yarn:
- Yarn indicators, especially those made with the New Zealand strike indicator tool, offer unmatched stealth and soft water entry.
When to Use:
- Highly effective in low, clear waters or when fish are indicator-shy.
- Ideal for detecting subtle takes crucial in winter situations and with tricky trout.
When Not to Use:
- Less suitable for windy conditions or when fishing at length.
- Surprisingly supportive of heavyweight nymph rigs.
- Sighters:
- Sighters, usually associated with heavily weighted jig flies and European-style nymphing, can be adapted for various situations.
- Composed of highly visible monofilament, sighters aid in detecting strikes without a physical object on the water.
When to Use:
- Effective for larger fish in high-pressure situations.
- Ideal for close-distance fishing or navigating structures like rock gardens.
When Not to Use:
- Less useful for long-distance casting or in windy conditions.
- Hopper Dropper:
- Using a buoyant dry fly as an indicator, known as a “hopper dropper,” proves effective in warmer months.
When to Use:
- Best utilized in warm weather when fish actively feed on dries or exhibit indicator shyness.
When Not to Use:
- Use only when the scenario aligns with the described conditions.
Basics of Using an Indicator Successfully:
Rigging:
- Keep it simple, with the indicator at 1.5-2x the water depth you target.
- Adjust based on variables like current speed, drift distance, and the weight of your rig.
Casting:
- Recognize that a dry fly and indicator rig require a different casting approach.
- Experiment with casts like water load or roll cast to find what suits you best.
Indicators, when chosen wisely for specific situations, prove to be a phenomenal tool. Feel free to share your thoughts, questions, or disagreements in the comments, and I’ll respond promptly.
Image/Source: JackShirk